In Unity, everything starts with a GameObject — it's like the building block of the entire game. Characters, enemies, buttons, bullets, trees, even empty space with a script — all of these are GameObjects.
A GameObject by itself is just a container. It doesn’t move, blink, or make sounds until you tell it what to do — and you do that through code.
In this lesson, you’ll learn how to store objects in variables, turn them on and off in the game, and make them follow your commands — step-by-step, without rush.
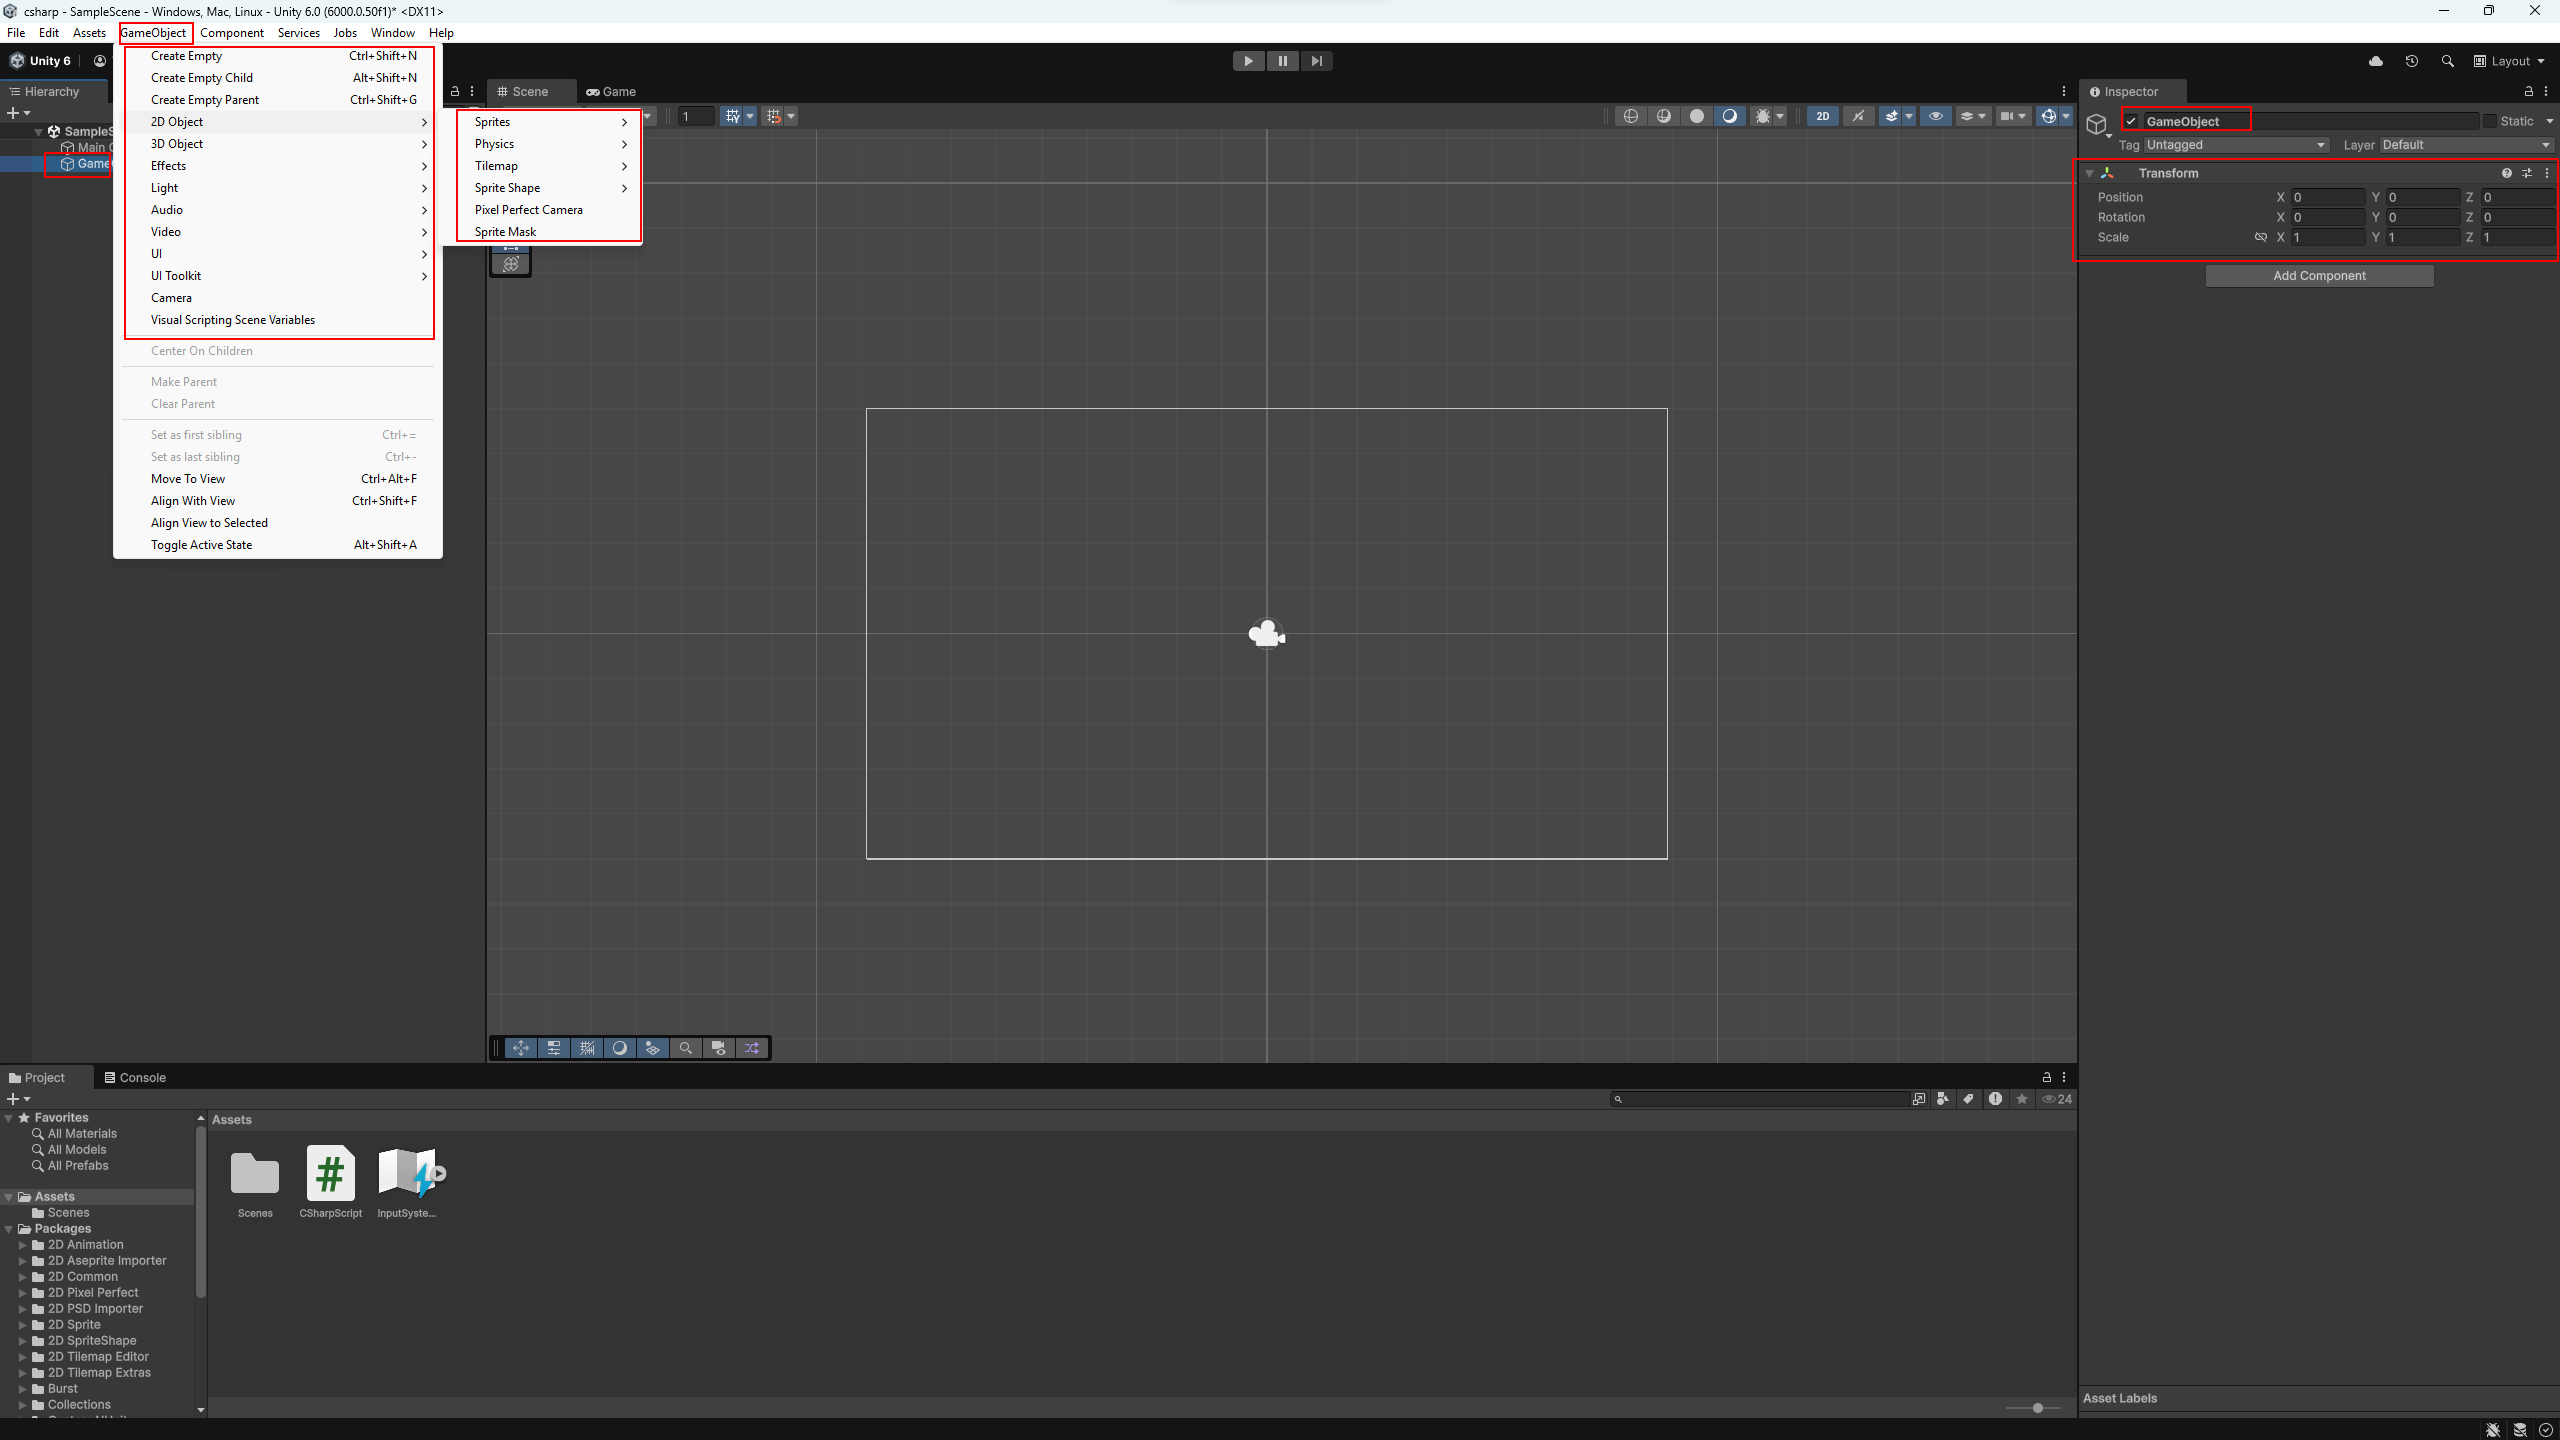
To add something new to the scene, you need to create a GameObject. You can do this manually in the editor: right-click in the Hierarchy → Create Empty or choose a ready-made template, like 3D Object → Cube or 2D → Sprite.
Every GameObject has a name — so you can easily find
it in the list of objects. Give it a clear name: Player,
Enemy, Fireball — so you don’t get confused
later.
Even an empty object isn’t truly empty: it always has a Transform — the main component without which the object cannot exist. Transform is responsible for the object’s position, rotation, and scale in the world.
If you can see an object in the scene — it has a Transform. Even if you can’t see it — it’s still there. It’s like coordinates on a map: without them, the object wouldn’t know where it is.
💡 Unity can automatically create a GameObject if
you, for example, just drag a sprite into the scene. It will instantly
create a new object, add the required components (like
SpriteRenderer) and adjust its Transform. This is a quick
way to start — but under the hood, it’s still the same GameObject.
💡 You can also create objects directly from code — but first, it’s better to learn how they work manually.
To control an object from code, you need to store a reference to it in a variable. It’s like attaching an invisible string from the script to the object in the scene.
To do this, we declare a variable of type GameObject. To
make it visible in the Unity editor and assignable manually, you need
to put the keyword public before it.
After that, you’ll see a new field under your script in the Inspector. Just drag the desired object from the scene into this field — and now the script can work with it.
using UnityEngine;

public class CSharpScript : MonoBehaviour
{
    // Public variable — visible and assignable in the editor
    public GameObject player;

    // Start is called once when the object starts
    void Start()
    {
        // For example, disable the object at start
        // player.SetActive(false);
    }

    // Update is called every frame
    void Update()
    {
        // Control the object during the game
    }
}
💡 player.SetActive(false) is one of Unity’s methods that
lets you enable and disable an object. There are many such methods,
and they help you control the state and behavior of objects directly
from code. We’ll talk more about Unity API commands in
Lesson 9.

Player field where you can drag another
GameObject from the scene.
💡 public makes a variable accessible from outside —
that’s why Unity can show it in the editor. There’s another way using
[SerializeField], which we’ll cover later.
Sometimes a variable is only needed inside the script — then you don’t
need to write public. You can keep it
private (by default or explicitly with
private) and assign its value directly in code, without
the editor.
using UnityEngine;

public class CSharpScript : MonoBehaviour
{
    // Private variable — not visible in the editor, but available inside the script
    private GameObject player;

    // Start is called once when the object starts
    void Start()
    {
        // Find object with tag "Player" and store it in the variable
        player = GameObject.FindWithTag("Player");
    }

    // Update is called every frame
    void Update()
    {

    }
}
In the next lesson, we’ll talk about components of a GameObject — the “inner parts” that make it visible, movable, or responsive to the world. We’ll learn how to access these components from code and control them as you wish.